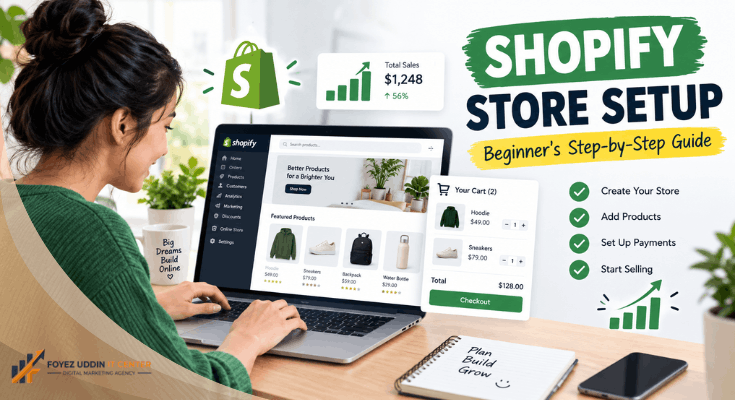
Starting an online store can feel overwhelming. However, Shopify store setup doesn’t have to be complicated.
This guide breaks everything down into simple steps. You don’t need any coding knowledge. You just need a plan and a little patience.
By the end of this post, you’ll have a fully functional online store. Let’s get started.
Why Choose Shopify for Your Online Store?
A successful Shopify store setup starts with picking the right platform. Shopify powers millions of businesses worldwide, and it’s beginner-friendly and highly customizable.
Here’s why it’s a top choice:
- No coding required to launch a professional store
- Built-in payment processing for secure transactions
- Thousands of apps to extend functionality
- 24/7 customer support for troubleshooting
- Mobile-optimized themes included by default
Therefore, Shopify is ideal for beginners and small business owners alike. It removes the technical barriers that stop most people from starting.
Step 1: Sign Up for a Shopify Account
The first step in any Shopify store setup is creating an account. Visit Shopify’s website and start a free trial. You’ll need an email address and a store name.
Choose a name that reflects your brand. You can always change it later, so don’t overthink this step.
Next, Shopify will ask a few questions. These help customize your dashboard experience. Simply answer honestly and move forward.
Step 2: Choose Your Shopify Plan
Pricing is a key part of your Shopify store setup decision. Shopify offers several pricing tiers, and each one fits a different business stage.
- Basic Plan: Best for new solo entrepreneurs
- Shopify Plan: Suited for growing businesses
- Advanced Plan: Designed for scaling operations
For most beginners, the Basic Plan works perfectly. You can upgrade anytime as your store grows.
Step 3: Set Up Your Store’s Domain
Choosing a domain is an important part of Shopify store setup. Your domain is your store’s web address. For example, “yourstore.com.”
You can buy a custom domain directly through Shopify. Alternatively, you can connect one you already own.
A custom domain builds trust with customers. Therefore, it’s worth the small investment early on.
Step 4: Pick a Theme for Your Store
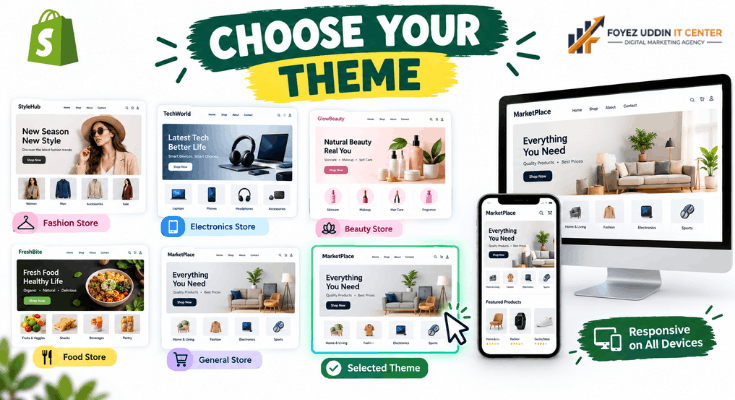
Design is a visible part of your Shopify store setup journey. Shopify offers free and paid themes, and these control your store’s look and feel.
Consider these factors when choosing:
- Industry relevance (fashion, electronics, food, etc.)
- Mobile responsiveness for on-the-go shoppers
- Customization options for branding flexibility
- Loading speed for better user experience
Pick something clean and simple as a beginner. You can always switch themes later without losing your data.
Step 5: Customize Your Store Design
Branding is where your Shopify store setup starts to feel personal. Once you’ve chosen a theme, it’s time to personalize it. Add your logo, brand colors, and fonts.
Shopify’s theme editor uses a drag-and-drop system. This means no coding skills are needed at all.
For example, you can rearrange sections with a simple click. You can also preview changes instantly before publishing.
Step 6: Add Your Products
Adding products is the heart of your Shopify store setup. This is where your store comes to life. Navigate to the “Products” tab in your dashboard.
Add each product with these essential details:
- Product title and clear description
- High-quality images from multiple angles
- Pricing including any discounts
- Inventory tracking and stock levels
- SEO details like meta titles and descriptions
However, don’t rush this step. Good product descriptions directly impact your conversion rates.
Step 7: Set Up Payment Methods
Payments are a critical piece of Shopify store setup. Shopify supports multiple payment gateways, and Shopify Payments is the easiest option for beginners.
It accepts major credit cards automatically. There’s no need for third-party setup or approval delays.
You can also add PayPal, Apple Pay, or other regional gateways. This gives customers more flexibility at checkout.
Step 8: Configure Shipping Settings
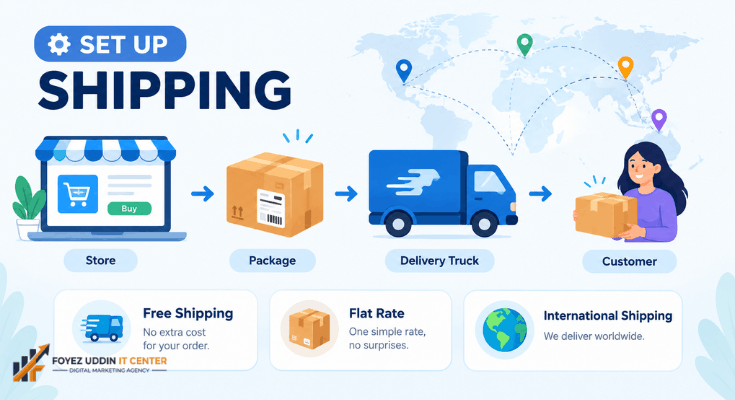
Shipping is another essential piece of Shopify store setup. Shipping settings determine how products reach your customers. Navigate to “Settings,” then “Shipping and Delivery.”
Set your shipping zones based on location. You can offer flat-rate, free, or calculated shipping rates.
For example, many beginners start with free shipping over a certain order value. This encourages customers to buy more per order.
Step 9: Set Up Taxes
Tax configuration is a legal must-do in Shopify store setup. Shopify can automatically calculate taxes for many regions. However, you should verify your local tax laws.
Go to “Settings,” then “Taxes and Duties.” Enter your business location and applicable tax rates.
This step ensures legal compliance. It also prevents pricing errors at checkout.
Step 10: Install Essential Apps
Apps can enhance your Shopify store setup significantly. The Shopify App Store offers tools for almost everything, including marketing, reviews, and customer support.
Popular beginner-friendly apps include
- Email marketing tools like Klaviyo
- Review apps to build social proof
- SEO apps for better search visibility
- Live chat tools for instant support
Start small. Add only what you truly need to avoid clutter.
Step 11: Test Your Store Before Launch
Testing is the final checkpoint of Shopify store setup. Before going live, test everything thoroughly. Place a test order to check the checkout flow.
Check these areas carefully:
- Mobile responsiveness across devices
- Page loading speed for performance
- Broken links or missing images
- Payment processing accuracy
Therefore, testing prevents embarrassing issues after launch. It’s a small step that saves major headaches later.
Step 12: Launch Your Shopify Store
Launch day marks the completion of your Shopify store setup. Once everything looks good, it’s time to launch. Remove your password protection page in Shopify settings.
Announce your launch on social media. For example, share behind-the-scenes content to build excitement.
Congratulations, your store is officially live. However, the real work begins now: marketing and growth.
Common Mistakes to Avoid During Setup

Many beginners rush through Shopify store setup and skip crucial details. Here are common pitfalls:
- Poor product photos that reduce trust
- Ignoring mobile optimization for shoppers
- Skipping SEO settings on product pages
- Overcomplicating navigation menus
Avoid these mistakes to build a stronger foundation. Small details often make the biggest difference.
Final Thoughts on Shopify Store Setup
Completing a Shopify store setup doesn’t require technical expertise. It just requires following clear, structured steps.
You now have the knowledge to launch a professional online store. Take action today and start building your dream business.
Remember, every successful store started exactly where you are now. Therefore, stay consistent and keep improving over time.
Frequently Asked Questions
1. Do I need coding skills for Shopify store setup?
No. Shopify’s drag-and-drop editor makes Shopify store setup possible without writing any code.
2. How long does Shopify store setup take?
Most beginners finish a basic setup in a few hours. However, adding products may take longer.
3. How much does Shopify store setup cost?
Plans start around $29/month. Therefore, it’s affordable for most small business owners.
4. Can I use my own domain during Shopify store setup?
Yes. You can buy a new domain or connect an existing one during the process.
5. Is Shopify Payments required for Shopify store setup?
No, but it’s the simplest option. It integrates directly without extra fees.
6. Do I need a business license for Shopify store setup?
It depends on your location. Therefore, check local laws before completing setup.
7. Can I change my theme after the Shopify store setup is complete?
Yes. Switching themes afterward won’t affect your products or customer data.